Cleaning the parts you cant see (as easily) is equally as important, if not more so, than those you can - especially the brakes! As with any servicing, it's far better to adopt the approach of ‘little and often’ and can result in keeping otherwise expensive maintenance costs down.
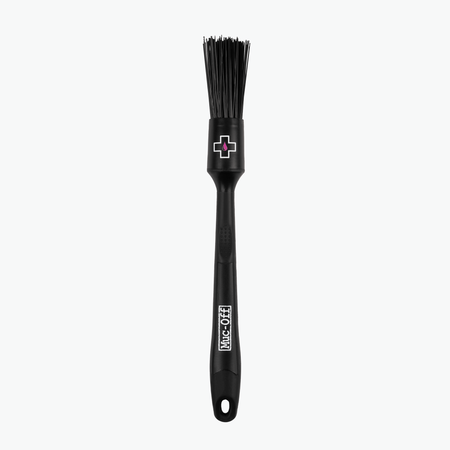
The tools required for this job can be found in most motorcyclists garages. Most importantly you’ll need patience and some elbow grease, a comprehensive socket set, hex key bit set, a torque wrench, Muc-Off Brake Disc Cleaner, Muc-Off Drivetrain Brush, Muc-Off Copper Slip Grease, Muc-Off Microfibre Towel/Blue Roll plus a pair of Muc-Off Mechanics Gloves should see you through the entire process from start to end.
Step One.
Brake pad pins; Depending on the brand of caliper equipt to your bike the method by which the pads are held in place can vary. Some brake pad pins screw in whilst other pins are held in place with a split pin.
Load your ratchet with an appropriately sized hex key/socket and loosen the brake pad pins (if present) or using pliers to remove the split pin. These pins hold the brake pads and anti-rattle springs in place within the caliper, you don’t need to remove these entirely, simply loosen them enough so they can be removed easily in a few steps time.
The reason to do this now with on the caliper still fixed to the fork is as with the build-up of grime and brake dust these pins can easily seize.

Step Two.
Load a ratchet with the appropriate sized hex key/socket and undo the 2x (per caliper) main bolts that hold the caliper to the fork leg and lift it clear of the disc, being careful not to scratch the wheel or mudguard as you do so.
Step Three.
With the caliper now removed from the fork, continue to unscrew/remove the pad retaining pins, be careful the ‘anti-rattle’ springs doesn’t ping off and get lost (they typically try!) as you draw the pins out.
Step Four.
With the brake pad pins now removed, the anti-rattle springs and brake pads can now be removed from the caliper. Set these down on a clean surface next to the pad pins. You’ll get to inspecting/cleaning these later..
Step Five.
With one of the motorcycles calipers in hand (empty of pads). You may want to draw the pistons further out for greater cleaning, gently pump the front brake lever, being careful not to overextend the pistons and cause them to fall out!

Step Six.
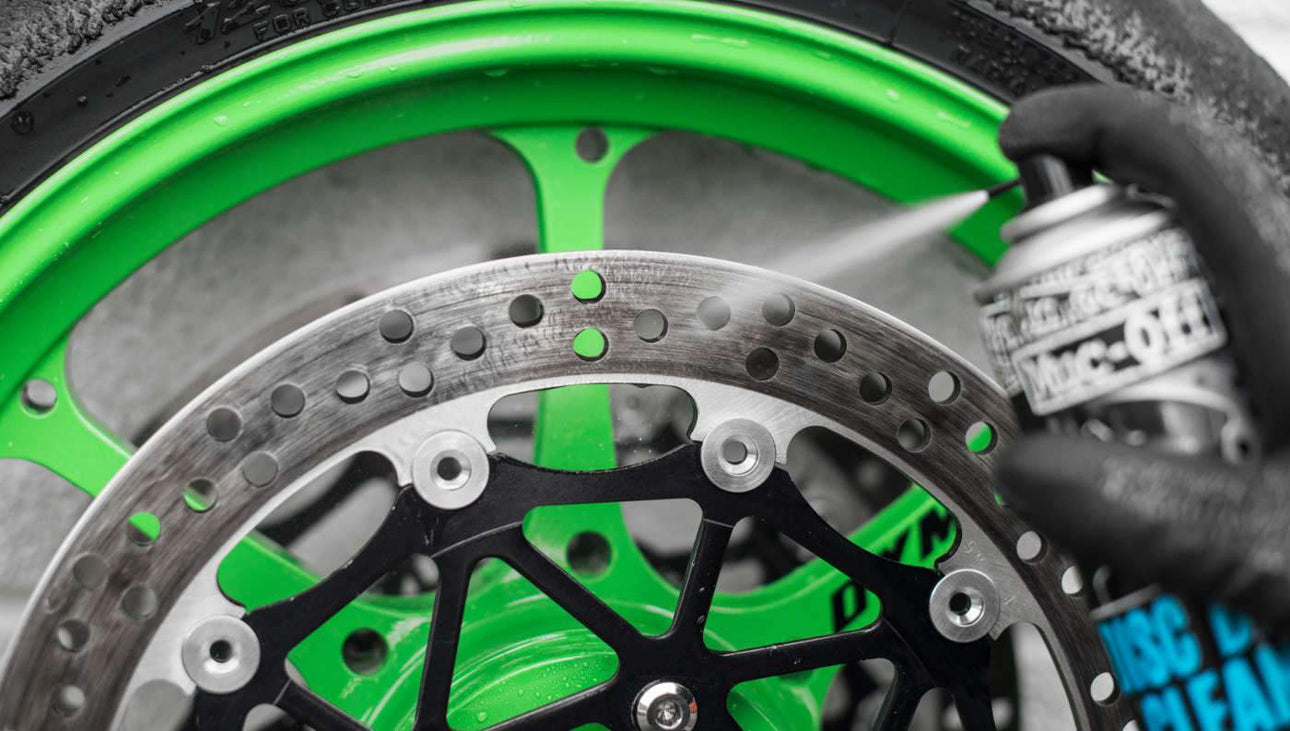
With the pistons now alittle further extended, Spray Muc-Off Disc/Brake Cleaner directly into the caliper and onto the pistons and agitate any stubborn brake dust/dirt buildup with a drivetrain brush or old toothbrush.
DO NOT use a wire brush, this WILL result in marking the pistons and or damaging rubber seals, either will result in a bad day!
Make sure the entire outer surface of each piston is clean, rotate (by hand, DO NOT grip the piston using tools) the piston if necessary, re-applying brake cleaner where required and continue agitating with the brush.
Once all the built-up deposits of brake dust have been agitated with the brush, hose down the area with more brake cleaner and wipe down with a microfibre towel. Once clean push the pistons back into the body of the caliper by hand..
With the caliper now looking factory fresh, it's now time to turn your attention to the pads, bolts and pins.

Step Seven.
Inspecting the pads, ensure each has plenty of friction material left and that the pads aren't glazed, replace where required. Spray down the pads with Muc-Off Disc/Brake Cleaner, cleaning off any built-up brake dust deposits and old copper slip off the reserve of the pads.
Once happy with the condition of the pad, apply copper slip to the back of the pads and pins – no need to go over the top, you don’t want it going everywhere and ending up on the pads friction material or on the brake discs itself.
Step Eight.
At this stage, it's always a good idea to take this opportunity to spray and clean up the rotor/disc with Muc-Off Brake Disc Cleaner, it’ll remove the surface contaminants as well as free off stubborn disc pad disc buildup, once sprayed down, wipe over and dry with a clean microfiber towel.
If using free-floating discs, it’s well worth checking and inspecting the bobbins are free of dirt and not seized.
Step Nine.
Reassembly time! Carefully place the pads back into the caliper (make sure they are the correct way around!). Top with the ‘anti-rattle’ springs (make sure they are the correct way around!) and secure with the pad pins.
Reseat the caliper over the disc, you may need to separate the pads further apart (especially if new pads have been installed), use a large screwdriver to push the pads apart and reattempt the install process.
Once installed over the disc, apply copper slip to the main caliper bolts and affix to the fork legs. Tighten and check all bolts to OE torque specifications.
And that's it! One down, one to go! Simply repeat for the other front caliper and your brakes will thank you for some time to come!

Step Ten.
Once both sides have been cleaned and remounted to the forks, REMEMBER to pump the brake lever to pressurise the braking system and get the pistons/pads back to there optimum positions.
Step Eleven.
Always allow your brakes to bed back in for a good few miles before attacking your favourite roads and rejoice in a job well done, maybe order yourself some more carbon fibre or chrome parts to celebrate!! Ride safe out there!


 Muc-Off UK
 Muc-Off EU
 English
 Español
 Deutsch
 Francais
 Italiano
 Nederlands
 Polski


